Managing Users
Create, edit, deactivate, and delete internal users in your DocQ environment.
User management in DocQ allows administrators to create accounts, assign permissions and roles, and maintain the user lifecycle. All user management tasks are performed from the Users menu.
Creating a User
To create a new user account:
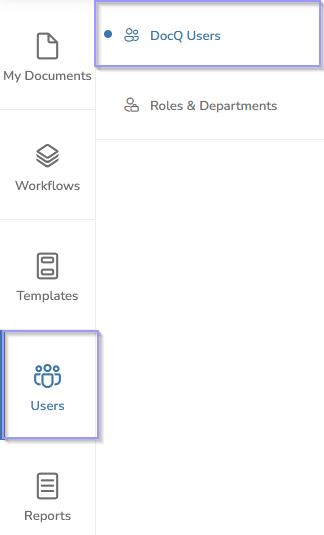
- Navigate to Users > DocQ Users from the main menu.
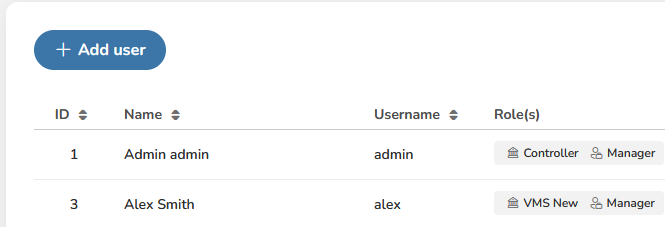
- Click the +Add User button at the top of the user list.
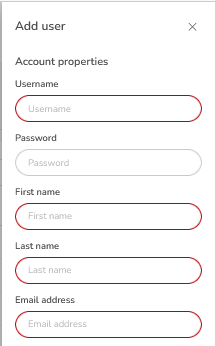
- Fill in the required fields in the user creation form:
- Username (mandatory) — this will be used for login and cannot be changed after creation.
- First name and Last name (mandatory).
- Email address (mandatory).
- Password — set an initial password for the user. Password requirements follow NIST 800-63B guidelines (8-64 characters, mixed case, special characters). See User Profile for full password policy details.
-
Assign System access and Content access permission groups to define what the user can do and see. For details on permission groups, see Access Control.
-
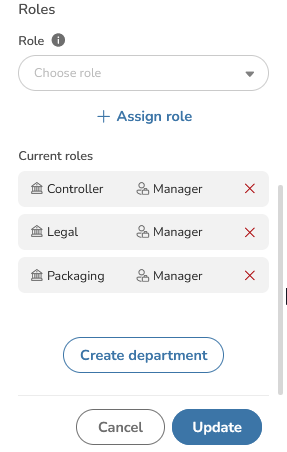
Assign Roles to associate the user with the appropriate department and position. For details on departments and roles, see Departments & Roles.
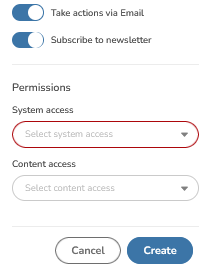
- Click Save to create the user account.
Info
The username is permanent and cannot be changed after the user account is created. Choose usernames carefully, following your organization's naming conventions.
Editing a User
To modify an existing user account:
- Navigate to Users > DocQ Users to view the user list.
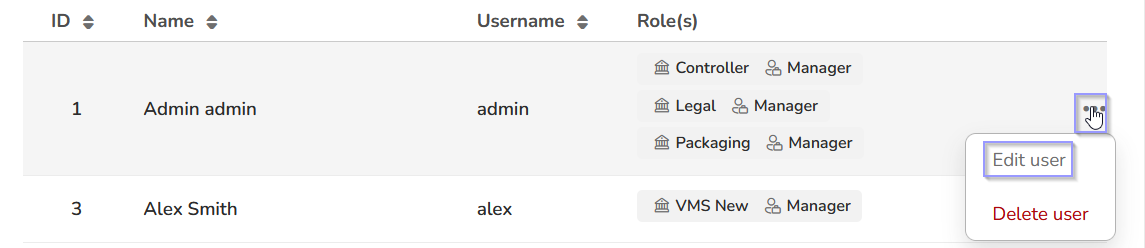
- Locate the user you want to edit.
- Click the three dots menu icon next to the user's name.
- Select Edit user from the dropdown menu.
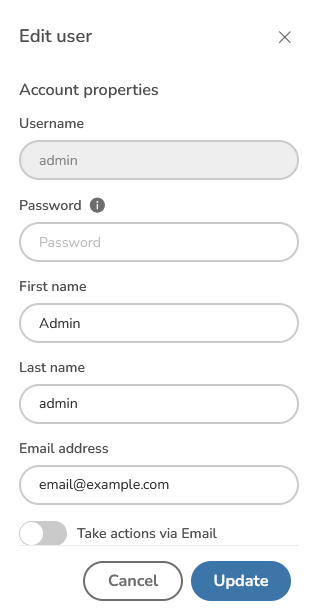
- Update the desired fields. You can modify:
- First name and Last name
- Email address
- Password
- System access and Content access group assignments
- Role assignments
- Click Save to apply the changes.
Warning
The username field cannot be changed after account creation. If a user requires a different username, you will need to create a new account and deactivate or delete the old one.
Deleting and Deactivating a User
When a user no longer needs access to DocQ, you can delete their account. However, the behavior depends on whether the user has signed documents.
Deleting a User
- Navigate to Users > DocQ Users.
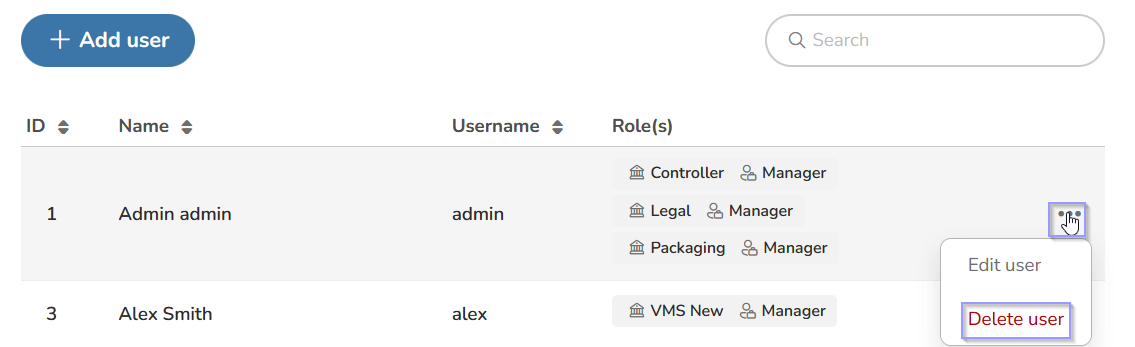
- Locate the user in the list.
- Click the three dots menu icon next to the user's name.
- Select Delete user.
- Confirm the deletion when prompted.
Warning
Deleting a user is a permanent action that removes their account and associated data. Before deleting a user, review all workflows where the user is assigned to ensure continuity. Reassign any active workflow tasks to other users.
Automatic Deactivation
If the user has previously signed documents using their e-signature, DocQ will not fully delete the account. Instead, the account is deactivated to preserve the integrity of signed documents and their audit trails.
A deactivated user:
- Cannot log in to DocQ.
- Cannot be assigned new workflow tasks.
- Retains their signature history for compliance and audit purposes.
Info
If you need to reactivate a previously deactivated user account, contact DocQ support for assistance. Reactivation cannot be performed through the standard user interface.
Best Practices for User Removal
- Review workflows first: before deleting or deactivating a user, check all workflows where they are assigned. Reassign tasks to ensure no documents are left without an assignee.
- Consider deactivation: if you are unsure whether a user has signed documents, proceed with the delete action — DocQ will automatically deactivate the account instead of deleting it if signatures exist.
- Audit trail: deactivated accounts preserve the complete history of the user's actions for compliance purposes.
Next Steps
- Access Control — configure the permission groups that govern what users can do.
- Departments & Roles — organize users into departments and assign roles.
- User Profile — learn how users can manage their own profile, password, and e-signature.